Starting and Ending a stocktake
Starting a stocktake
- In the navigation panel, go to Inventory then Stocktakes.
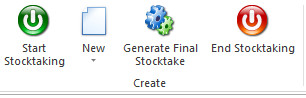
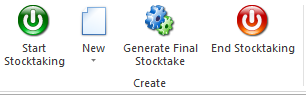
Click Start Stocktaking which is located on the top panel on the left.
The Start Stocktaking window will display
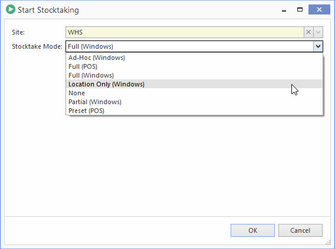
- Select Stocktake Mode
"Full (Windows)", when you intend to stocktake the whole business, everything in all locations including the balance in a final stocktake e.g., when you close the business on a weekend to stocktake everything.
* This stocktake mode requires a final stocktake of all uncounted products in all locations i.e., Generate Final Stocktake. before End Stocktaking is allowed.
* The transaction generated by the Generate Final Stocktake would clear out all uncounted products in all location
"Partial (Windows)", when you intend to do a partial stocktake by location. You have to stocktake all products for a location
* This stocktake mode requires a final stocktake of all uncounted products for the stocktake locations i.e., Generate Final Stocktake. before End Stocktaking is allowed.
* The transaction generated by the Generate Final Stocktake would clear out all uncounted products for the stocktake locations
Partial windows stocktakes set the stock clear mode to "clear immediately". This might be what you want to happen if you have stock logged in the computer in multiple locations, but want all stock for the product to be cleared in ALL existing locations when you first enter a stocktake line for the product. See example of "clear immediately" clear stock mode in a partial stocktake below.
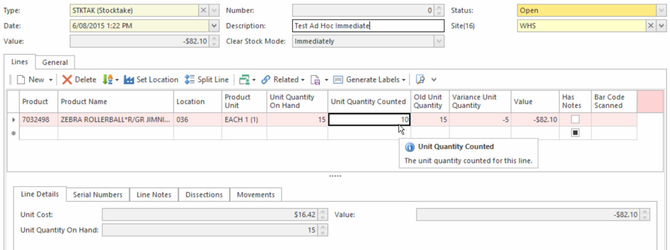
"Ad-Hoc (Windows)", when you intend to do rolling stocktake, for any products and locations or update a product at a specific location without impacting any other locations where that product is found.
A final stocktake is not required for this stocktake mode i.e., just End Stocktaking when the last transaction is posted
"Location Only (Windows)", when you intend to change stock location only i.e., Unit Quantity remains the same.
A final stocktake is not required for this stocktake mode i.e., just End Stocktaking when the last transaction is posted
Select the site where you are performing the stocktake, then click OK.
If there are no sites listed then stocktake has already been started for those sites.
- Click on OK to start stocktaking
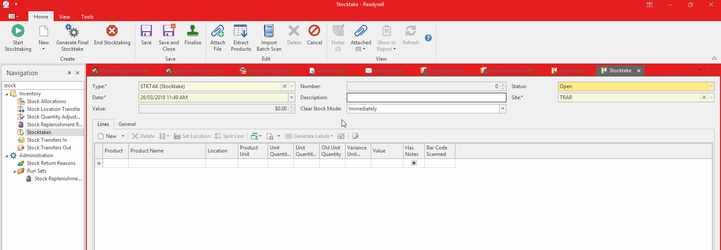
- Click on New to create a stocktake transaction
Select a Site from the drop-down list
Select a Clear Stock Mode from the drop-down list

Refer to Stocktake Mode and Clear Stock Mode for more details on various combinations and suitability for the purpose.
- Key in Description
Scan in product and key in Unit Quantity Counted, repeat this step as many times as required
- Click on Save
- Click on Finalise to post the transaction
- Repeat the above steps (6-12) as many times as required
Click on End Stocktaking for Ad-Hoc (Windows) stocktake mode
For Full and Partial (Windows) a final stocktake transaction is required to clear all uncounted products. Click on Generate Final Stocktake to do this.
Ending a stocktake
- In the navigation panel, go to Inventory then Stocktakes.
Click End Stocktaking which is located on the top panel on the left.
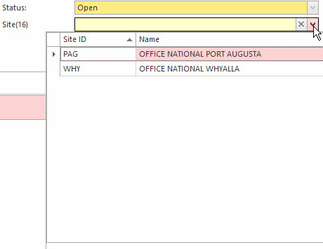
The End Stocktaking window displays. If you are stocktaking more than one site at once, a list of sites might display asking you which site is going to end stocktaking.
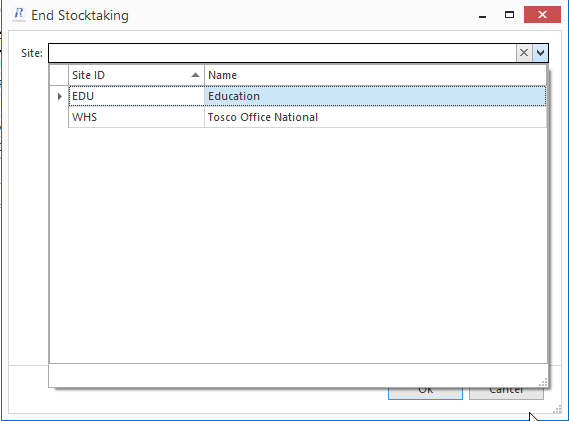
- Select the site where you have been performing the stocktake, then click OK.
- If a notice box displays a warning , click on the yes button to finish stocktaking anyway if you are sure you are done. Otherwise, click the no button which will cancel end stocktaking then go and check why some products have not to be