Sales Order Payment Terms
- Diane Partridge
Overview
Readysell allows you to change the Payment term on the Sales order. In doing so, the due date on the sales invoice will be calculated from the Payment Term on the sales order and not from the Customer Card.
- In the Navigation panel, go to Sales then Orders.
Click on button New in the ribbon. (If your screen is small, you may need to click on Create then New.)
If a screen pops up asking for an operator code this indicates that the code must be entered (or a staff card must be scanned) before any new transaction is performed on this workstation. Typically used for shared terminals (such as point of sale or warehouse machines) for audit purposes. The operator code is generated in the user's section of Readysell by an authorized person.
Use the Up, Down, Left, and Right arrows to move around in the list view.
The New Sale Order screen displays.
Click in the Customer field.
Once the customer field has been entered with a customer card, the related button will show the link to the customer card.
- Search for and select the customer from the list. If the customer does not exist in Readysell, you can click on the button Create Customer to create them.
- In the Customer Order field, enter the customer's order reference. This will usually be their purchase order number to you.
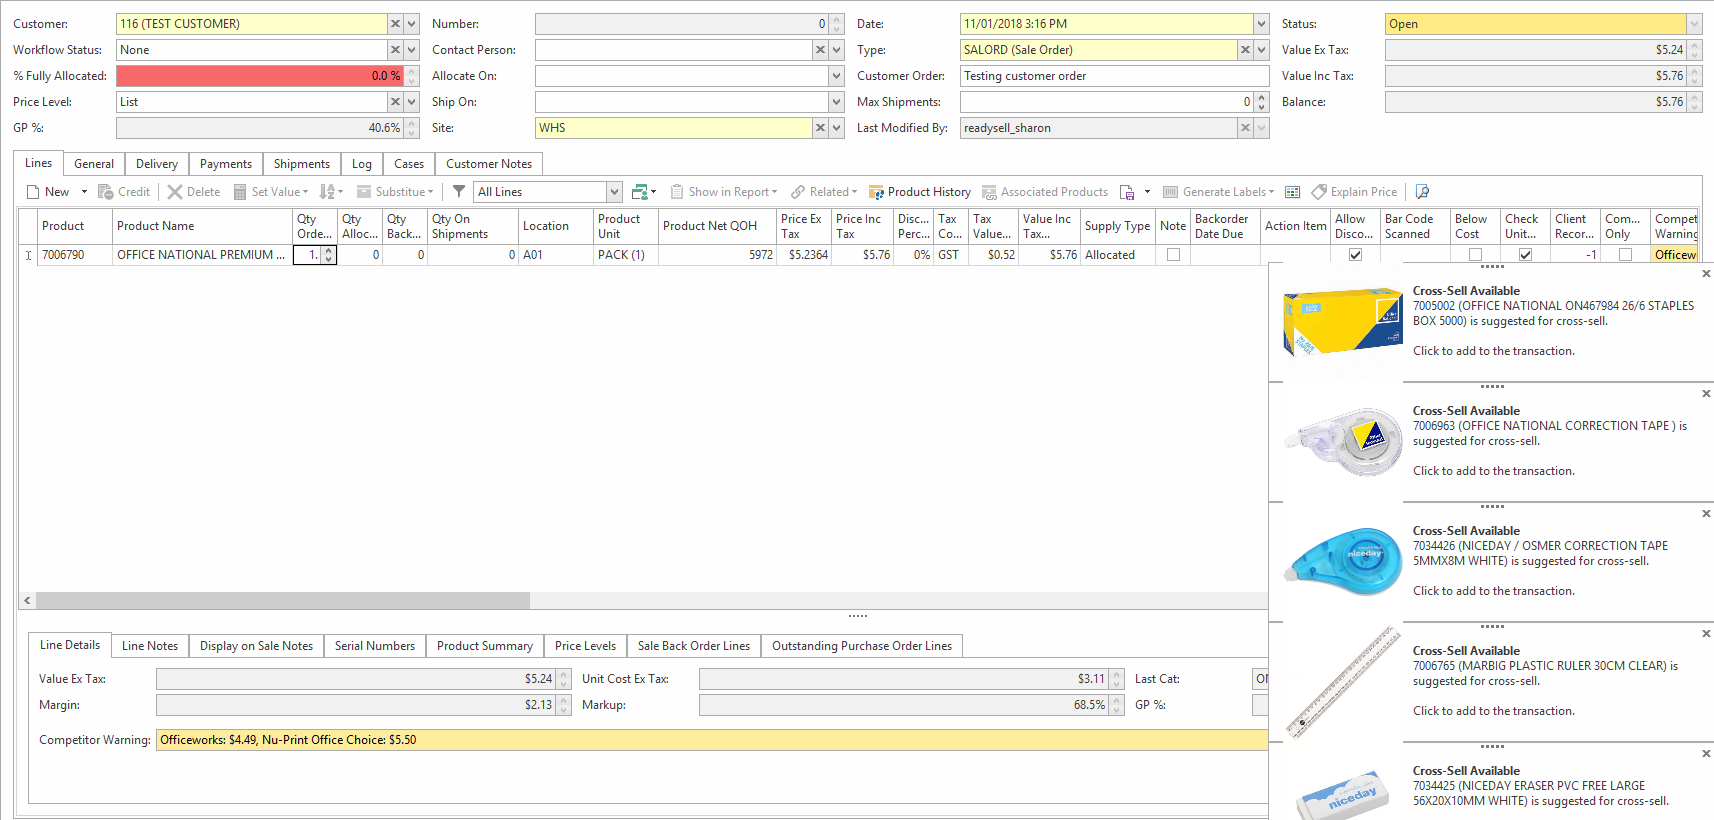
- In the Lines tab, enter products as follows:
- Click into the Product field on the first empty line on the list window
Start typing and this will trigger the search window adding in automatically what you've started typing, select the product you wish to add. If you know the product code, manufacturer's code, or alternate code, you can key it in directly.
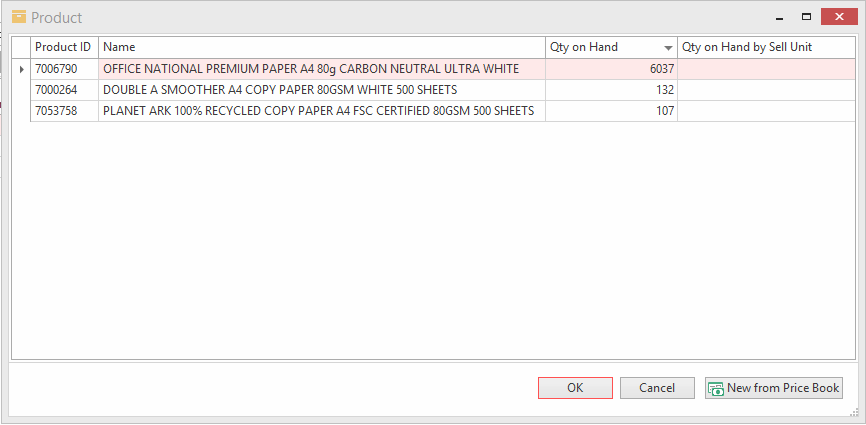
When you key in a code for a product that is not on file but currently it is in the price book. A popup will appear "No matches were found for your search criteria, however, a matching price book entry was found for EZ code 'test-code'. Do you want to create a new product based on this price book entry?" Click on the button Yes and the product is created automatically in your product file and displayed on the line. This also occurs when you scan a product.
The product code is colour-coded to indicate that its status is Discontinued or Archived
- Press the Right Arrow on your keyboard to move to the Qty field, then key in the quantity required.
- Press Right Arrow again to move through the fields on the line, and make any necessary changes to pricing and discount information.
- When you have finished entering this product, you can use the Down arrow on your keyboard to move you to the next line.
Repeat this process for all the products you wish to add to the order.
Use the Substitute button to change back back-order line to a recommended product to reduce back-order items.
1
The Recommend Substitution option displays product(s) that meet the following criteria:
- in the same product category- have stock on hand- Price is +/- 10% of the original ordered product
2
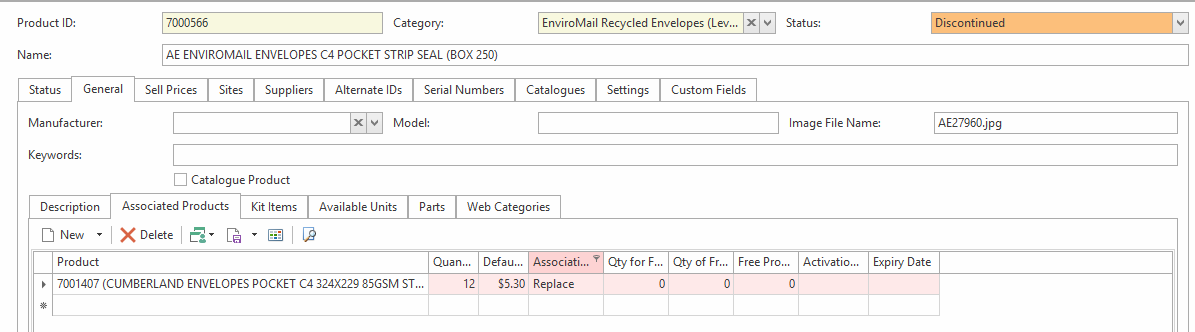
The Create Automatic Substitution option would allow a product to "Replace" another in the SALORD workflow whenever a SALORD or SRVORD is created.
Observe that the replacing product is added to the replaced product's "Associated Products" tab as follows
Product 7000566 is replaced by 7001407 whenever 7000566 is on a SALORD or SRVORD or SALSHP or PURORD.
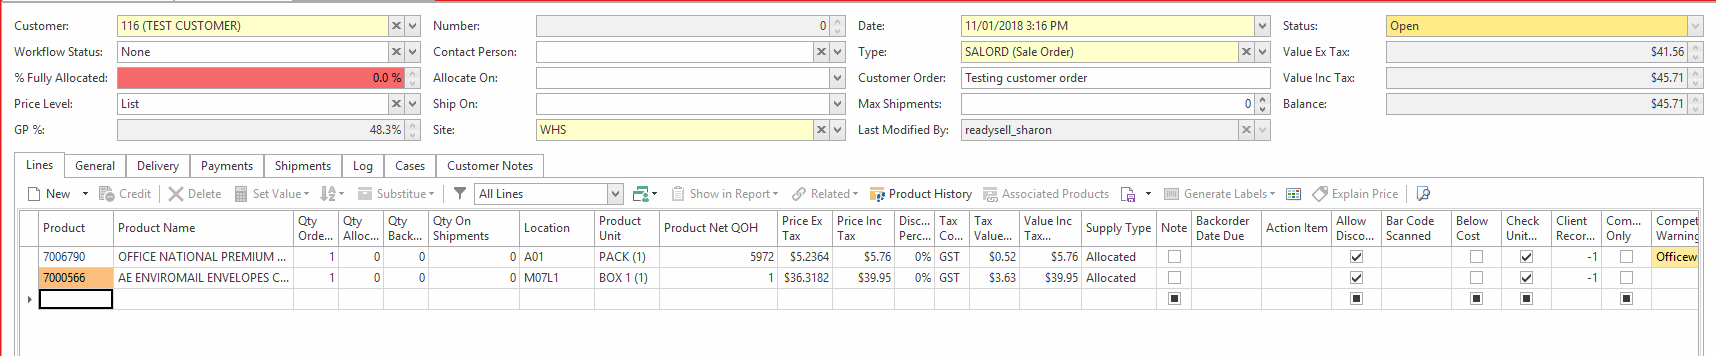
- When you have finished entering products, click on the Delivery tab.
- If you select an existing customer, their details will be displayed on this tab. Check that the details are correct and make any necessary changes.
- If you had to create a new customer, enter contact details for the customer.
- If required, enter the Ship After date to stipulate that an order is to be converted to a shipment after a specified date.
If required, enter the Allocate After date to stipulate that the stock on an order is not to be 'Allocated' until the current date reaches the specified Allocate After date.
* If an Allocate After date is specified then the Supply Type (allocation status) of all the lines in the order is set to 'Waiting' until the current date is greater or equal to the Allocate After date then the allocation status is set back to 'Allocated'.
* The change in Supply Type from 'Allocated' to 'Waiting' as a result of Allocate After date does not affect the Sale Back Order.
* If a Ship After date is specified then the Supply Type of all the lines in the order is set to 'Waiting' until the current date is greater or equal to the Ship After date then the allocation status is set back to 'Allocated' and stock allocation starts.
* If a Ship After date is set, the Allocate After date must either be blank or before the Ship After date i.e., cannot ship until stocks are allocated.
* You can also set an Allocate After date and leave Ship After blank if you wish, as auto-warehousing will create shipments only for stocks that are allocated.
Once the order looks complete, then click on the General Tab and drop the arrow on the field 'Payment Term'
Search for and highlight the required payment term.
The invoice due date will now be calculated based up on the rules on the payment term you have selected
Click on Save
Note, if you copy an existing sales order whereby you have applied a different payment term, then just remember that the payment term is not the one from the card but the one from the updated sales order.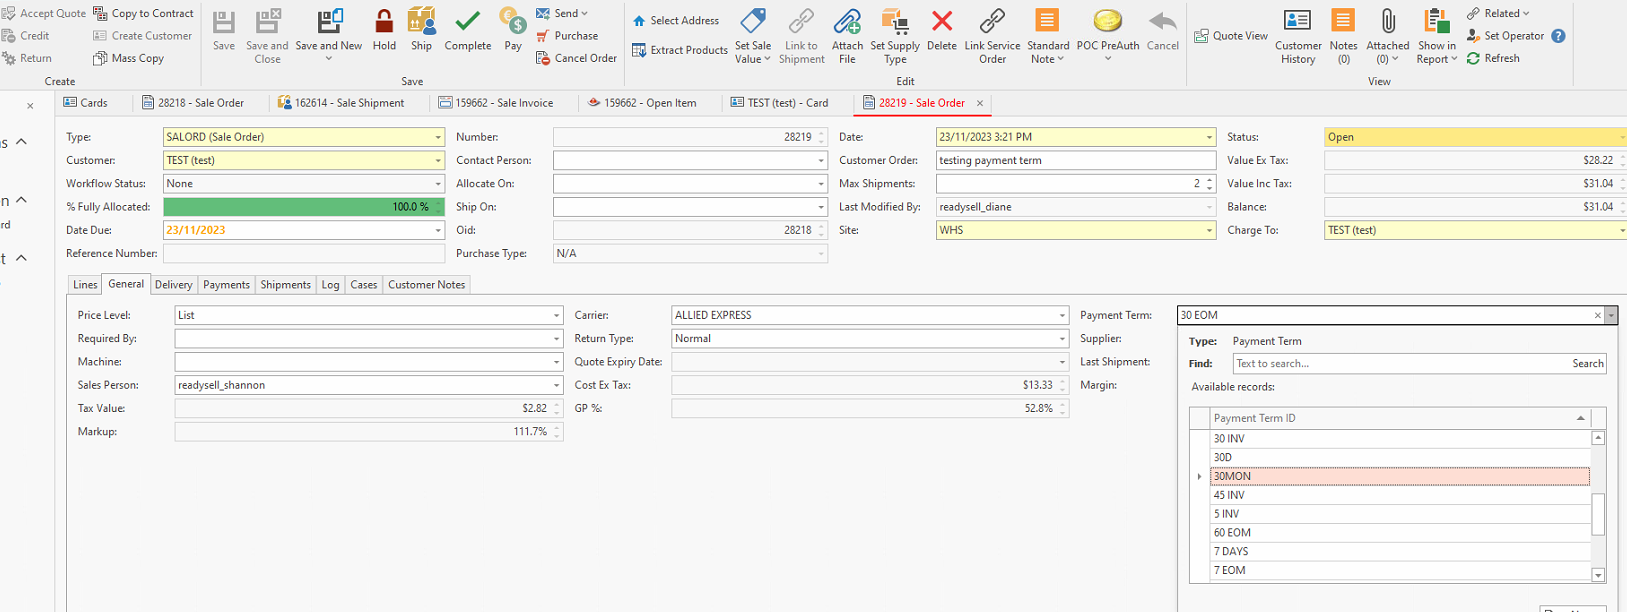
- When you have finished, you have six options. If you have not filled in all mandatory fields at this point, Readysell will tell you what information is missing once you select one of the buttons listed below.
Save and Close to park the order. Use this if you are unable to complete the sale order at this time, but want to return to it later. It saves what you've done and closes the tab.
- Save to park the order. This saves what you have done but does not close this tab, instead leaving the tab open on the Readysell screen.
Save and New. Once you complete working on the current sale order you can create a new sale order straight away by clicking save and new.
To activate Save and New, See here for more info Workstations there is an option 'Start New Sale Order After Complete'.
Purchase to generate a purchase order based solely on this sale order. See Purchase Orders for more information about this step.
Ship to generate a sale shipment for the order. See Sale Shipments for more information about this step.
Complete to send all of the products on the order to the customer and invoice it without printing a picking slip/shipment. You can only select this button if all stock is on hand and available so you can send out the entire order. Not recommended if you require a picking slip/shipment to be printed. Complete will invoice this order without printing a picking slip/shipment.
If you try to complete a sale order or finalize/complete a sale shipment, and the customer has any products already on back order (that have been allocated), pop up a message notifying the user so that they can ensure those items get shipped at the same time. These notes can be activated in System Types > Sales. They are as follows.
- SHOW-ALLOCATED-ORDER-NOTICE
- SHOW-BACK-ORDER-NOTICE
- SHOW-OUTSTANDING-SHIPMENT-NOTICE
Notes for Sale Orders
If Purchase Backorders button is clicked to create a purchase order for the backed-order product/s, a new purchase order will not be created if there is an existing open purchase order for that product.
If a Period is closed and you have any outstanding sales order or created a new one, a pop up warning message appears that the transaction is in a closed period and you need to check that the date has been entered. You will be allowed to ignore or close the order to continue with either the ship action button and/or save action button on the sales order.
Click on "Copy to Contract" to convert a quote/order to a contract.

Note that only products where you have manually updated the pricing on the sale lines that are different to the standard product pricing are copied to contract.