Creating a Stock Transfer Out and Transfer In from Sales Order Lines
Overview
Readysell has allowed for an action button from within the Sales Order Lines, to be able to create a Stock Transfer Out and Stock Transfer In defaulting the FromSite to be the site on the sales order header and the stock transfer lines to be the highlighted lines from within the sales order lines.
- In the Navigation panel, open up Sales>Order
Click on button New in the ribbon. (If your screen is small, you may need to click on Create then New.)
There maybe an order that already exists or an order that has dropped in from your web.If a screen pops up asking for an operator code this indicates that the code must be entered (or a staff card must be scanned) before any new transaction is performed on this workstation. Typically used for shared terminals (such as point of sale or warehouse machines) for audit purposes. The operator code is generated in the user's section of Readysell by an authorized person.
Use the Up, Down, Left, and Right arrows on your keyboard to move around in the list view.
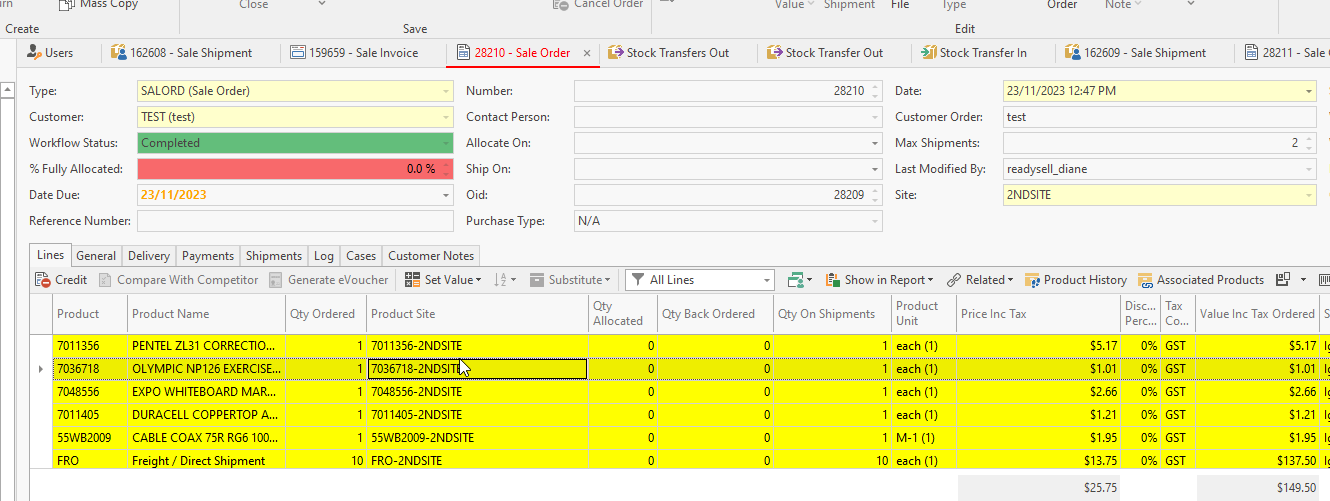
- Check the details on the sales order header and all the lines
- Check the Site that is on the header. This is important, as the stock transfer out uses the site on the sales order header to be the FROMSITE on the stock transfer out.
If any changes were made to the sales order header or lines, click on SAVE.
- Highlight the sales order lines that you want to create the stock transfer out from.
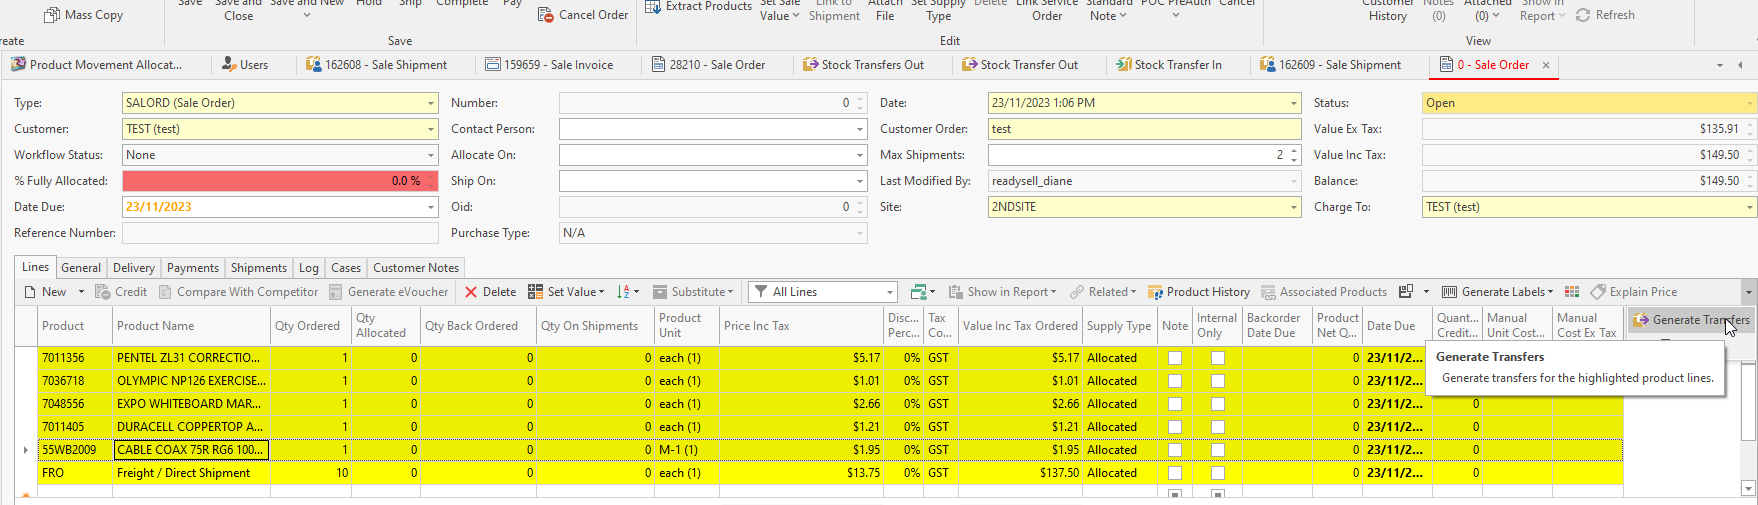
Drop the arrow or look for the action button of Generate Transfers
- The stock transfer out window will open with today's date, From Site (being the site on the sales order header), To Site - defaulting to the From Site, Transfer type = Replenishment Stock and the stock transfer lines will be the products that you highlighted from the sales order lines.
Ensure to change the TO SITE to the site you want to ship and invoice the sales order from.
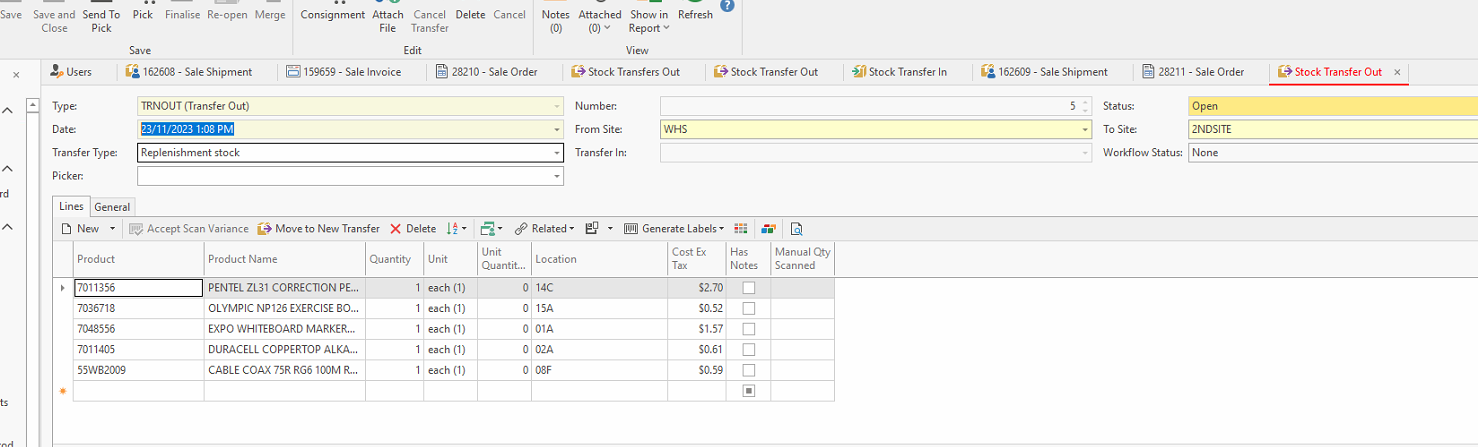
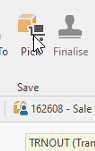
Check the Products and qty and click on Pick action button
The transfer out will update to a status of In Progress and the Finalise action button will be visible.
You can Re-open the stock transfer out if you wish to make changes before physically sending the stock and then you can click on Pick again

Then when the goods are ready to be physically transferred to the TOSITE click on Finalise

- The stock from the FROM Site will be reduced.
- Log into the ToSite and navigate to the StockTransferIn module.
- Find the Stock Transfer In and scan the lines in
- Click on Save
- Then click on Finalise
Go back to the Sales order that you have transferred the stock from and change the Site on the Header to be the site that you want the goods to be shipped and invoiced from.

Click on SAVE on the Sales Order so that the product site and lcoation on each of the sales order lines updates to site it has now been set to.
- Click on Save and or Refresh again.
- Either wait for auto warehousing or click on Ship and Finalsie if you only want the goods to be shipped
- If you require both the shipment and invoice to be created click on Complete from the sales order
- Both a shipment and invoice will be created
- The stock will be reduced from the site on the header, the product site on the sale order lines and the general ledger effect will also be for that site.