Notes Button
- Diane Partridge
- Van Ho (Deactivated)
- Monica Chand (Deactivated)
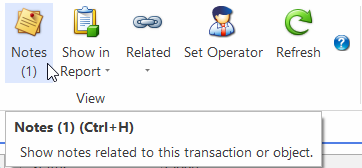
The Notes button allows you to enter notes depending on the context. The Notes button at the top of the screen on the Ribbon menu is where you enter Notes at the highest level object. Whilst the Notes on a tab allows you to enter Notes on the item shown on the tab on that line level.
When creating new cards, products, sales order, purchase order etc, the Notes button on the top ribbon is not available until you hit save or any other action button. The Notes need to know which document number to save against and therefore you cannot add header notes until you have first saved the transaction. When you enter a note at the header level it adds a counter to the Notes Tab.
Example of Entering Notes:
- In the Navigation panel, go to Sales then Orders.
- At this point the notes icon will be greyed out. Commence entering the Sales Order.
- Save the sales order, you will notice the Notes tab will be clickable now.
Click on the Notes button on the Ribbon menu.
- Enter Notes that relate to the header of the Order
E.g: please ensure cheque is picked up for the full value or customer contact detail such as email address
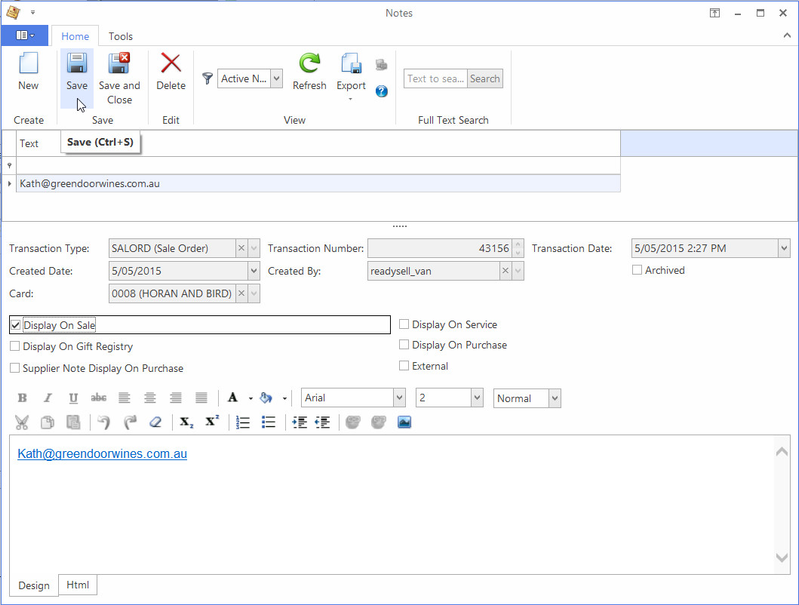
You can set the notes to be displayed on various workflows e.g.:
* Check External box to display the notes on a sale invoice
* Check Display On Sale to display the notes on a sale order and picking slip
You can mouse over each of the boxes to get a description of what it does.
- Then Click on Save and Close to accept the Notes.
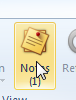
The system writes a (1) under the notes button and as you add more notes at the header level the counter increases.
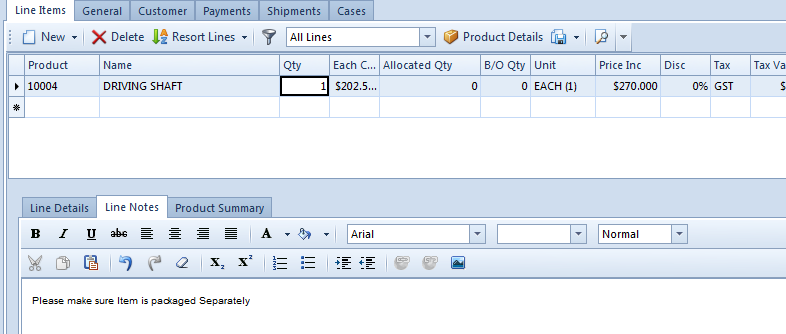
- To add notes to the line level
- Click on the Product or Line
Click on Line Notes tab and enter the notes that relate to that product or line.