Changing the formatting on lists using appearance rules
Overview
The best practice is to inform your team about the things they should be paying attention to without them having to change their normal processes or run reports. Appearance rules allow you to highlight, more or graph almost anything. If you want to change the colour of obsolete products, highlight quotes on a list of many other orders, shade overdue open items based on their dollar value and any other similar informative highlight. Then appearance rule is a feature you must start using.
Conditional formatting allowed you to highlight the information important to you and your team by creating special rules to display grid data in custom colours to help highlight important information. We listened to your feedback about how this popular feature could be made even better. In response to your suggestions, we have replaced “Conditional Formatting” with an even more powerful and accessible feature, being the new “Appearance Rules” button. All the features you liked about Conditional Formatting are still there and are now easier to use.
To get started, have a look at the video: Conditional Formatting Lists
Managing appearance rules
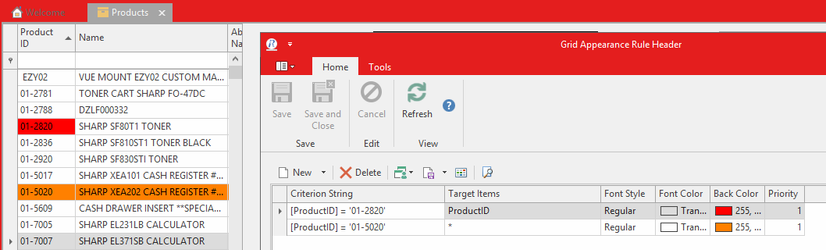
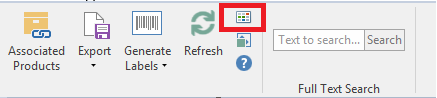
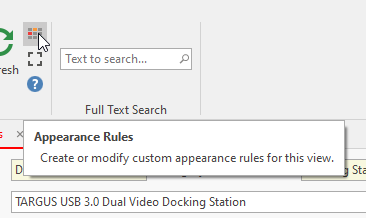
Appearance rules are added by clicking the button appearance rules from the top ribbon on a list view or from the header on the detail view. To try it out:
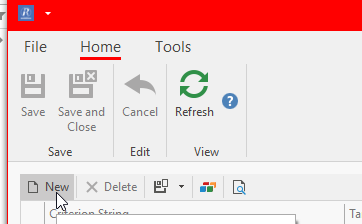
Click button Appearance Rules
Click New
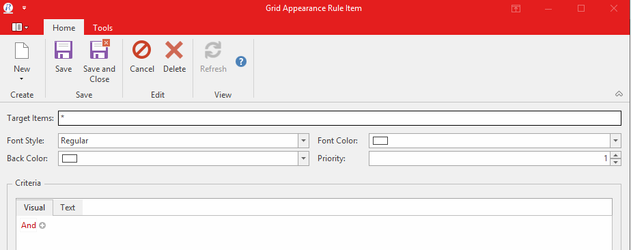
Fill in the details on the screen:
- If you would like a rule to apply to an entire row just leave the * in the Target Items field
If you would like to ONLY add a rule to a field remove the * and add in which Target Item you require to be changed
- Change the Font Style, Back Colour and/or Font Colour
- Back colour is the colour of the actual line
- Font Colour is the colour of the wording/line
Add in the Criteria which determines the objects to which this rule will apply.
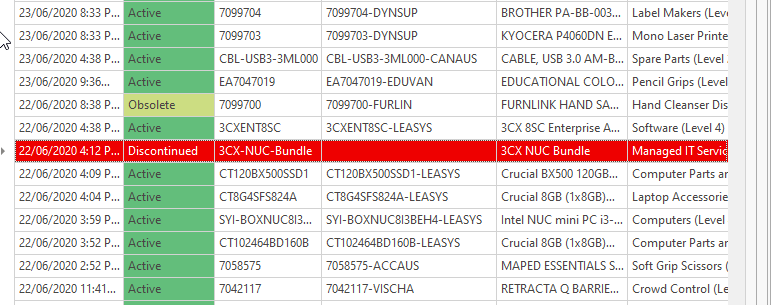
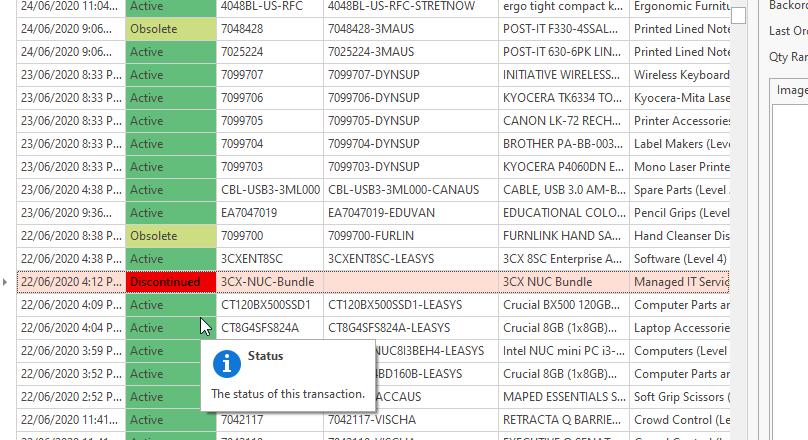
For example, you would like to see on the Product List View, Discontinued products to be in RedNavigate to the product file
Select the view of 'All Products'

- Click on the action button 'appearance rules'
Click on New
Click Save and Close
If you wish to see the entire line on the list view a different colour, then have a read of the instructions below- Select Back Colour and pick a colour, this is the lines that will appear in this colour
- Select Font Colour, this is the colour of the text within the line. Usually, it is White
Criteria, in this case, Product.Status = Discontinued
Click on Save and Close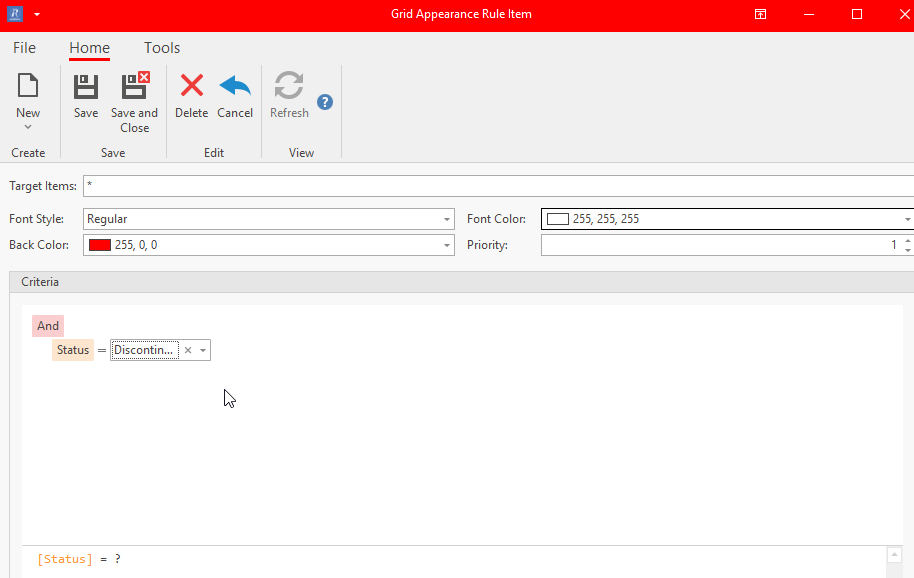
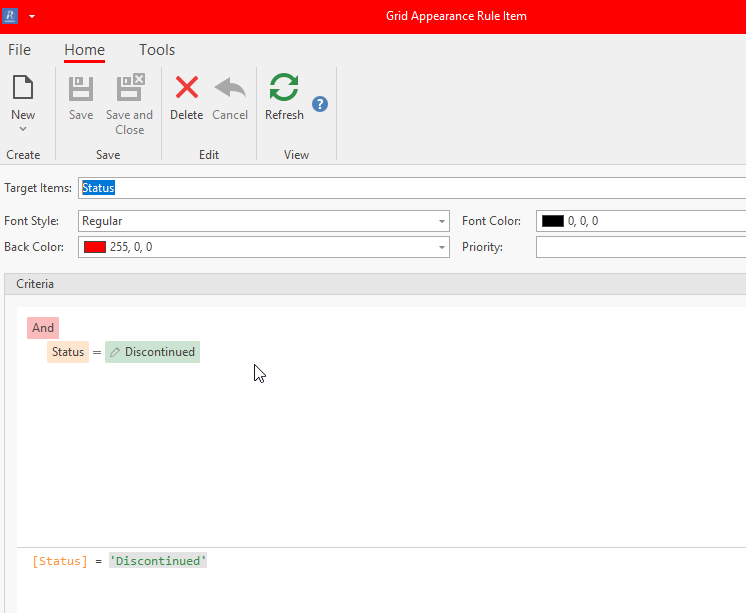
- If you wish to see an object, that is a specific field within the list view then follow the steps below:
Navigate to the product file
Select the view of 'All Products'
Click on New
- Target Items = Status as that is the field you wish to see highlighted in another colour for the products with a status of Discontinued
- Back colour, I have selected Red
- Font Colour I left the default or select Black
- Criteria, Status = Discontinued
Example of using appearance rules
Can a contract show (using appearance rules) the products that have been shipped earlier this month...
- Click button Appearance rules
- Click New
- If you want a rule to apply to an entire row just leave the * in the Target Items field, If you would like to ONLY add a rule to a field remove the * and add in which target item you require to be changed
- Add Font Style, Font Colour, Back colour
- Change the criteria [Product] to be Product.Last Shipped
- Change Equals to be Is earlier this month
- click on button Save and Close