- In the navigation panel, go to Administration then Custom Fields.
Click New to create a new custom field. The New Custom Field screen displays as per below.

- Enter the following fields:
- Name is the name of the field. This will appear where the field is shown.
- Custom Field Group allows you to add the field to a field group.
- Field Type is the type of field. The following types are available:
- Boolean is a true/false choice.
- Date is a date.
- Decimal is a number with decimal places (e.g. 2.50)
- Integer is a whole number with no decimal places (e.g. 2)
- Text is a text field.
Tick Required Field if you wish to make this field mandatory.
If Required Field is checked to indicate the custom field is mandatory then staff will need to be informed/trained on its usage as well as what to key in to avoid potential confusion when the validation error message pops up advising input for the field is required.
- Tick Include in Cube to include this field in cubes.
- In the Custom Field Applies section, specify where this custom field applies, using the following procedure:
Click New to create a new row. The Custom Field Applies screen displays.
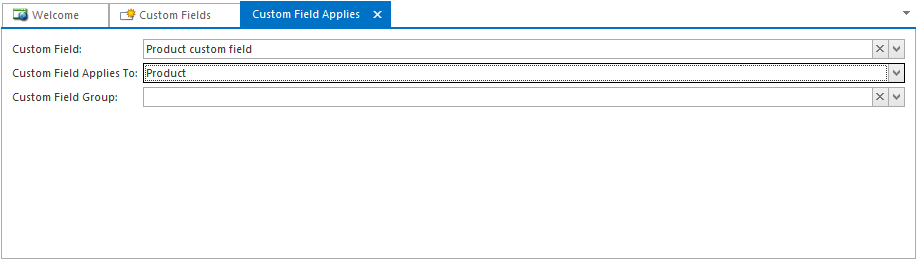
- Select the location where you want the field to apply. You can apply a custom field to Cards, Products or Machines.
- Repeat the process to define as many applications as you wish.
- When you have finished, click Save.
- If your field appears on Cards, it will be available immediately for new and existing cards.
- If your field appears on Products or Machines, it will be available for new records immediately, but will be copied to existing records overnight.